Tag:spring blooms

Its Spring! That means flower photography. The bees are buzzing; flowers are blooming. Cloudy winter skies are giving way to blue skies and sunshine. And lockdown or not – photographing flowers is something you can do economically from the comfort of your own home, and when it’s wet or breezy, you can still photograph inside – but give the impression they were taken outdoors. Try the following techniques for flower photography to get you started.
Gathering Your Subjects
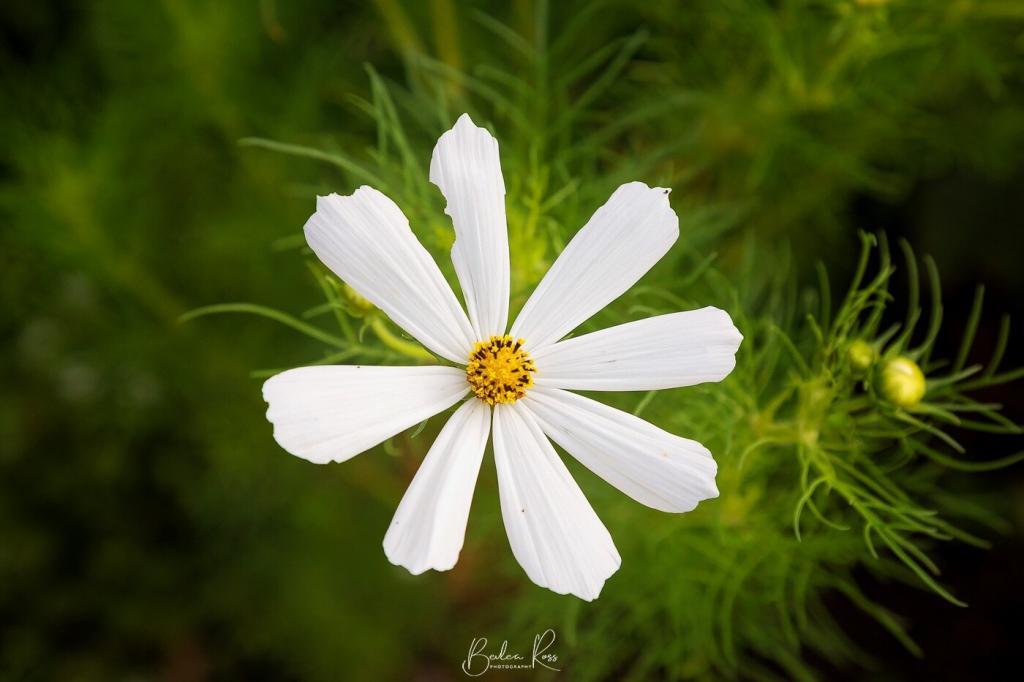
A show-worthy garden is not required to photograph flowers. Look to your own or your neighbour’s garden. Pop into your local nursery and photograph their blooms (if you aren’t in lockdown). Take the camera on your walk and photograph the blossoms or wattle. Keep a pr of scissors in your pocket, and if you want to take a cutting home, you can snip a piece off from the blossom or wattle trees on the nature strips or parks as you go by. If you have no garden, a bunch of mixed flowers from the supermarket is a great place to start. Look for daises, lilies, daffodils, Gerbera, and sweet williams.
Outdoors
Consider wind when deciding what, when and where to photograph. A tripod is highly recommended using a macro lens, but this won’t help if it’s breezy and the flowers move like crazy. If your flowers won’t hold still – cut them and take them to a sheltered spot or indoors. Early morning or late afternoon will give you the best light and avoid the harsh shadows of the middle of the day when it’s sunny. Indoors you have more control over lighting.
Light
Natural light or flash? I prefer non-flash – so that the light is softer, and I prefer to compensate with a longer shutter speed on a tripod. If you use a flash (or a torch), direct the light to the background, not the flower, to reduce your shadows on the flower. Indoors, filtered side light from a southwest-facing window works a treat in either early morning or late afternoon. Lacey curtains will create exciting patterns while sheers will diffuse the light. A small reflector allows you to bounce light back to the darkest side. Don’t have one? An economical alternative is to cover a piece of cardboard with aluminium foil.
Composition
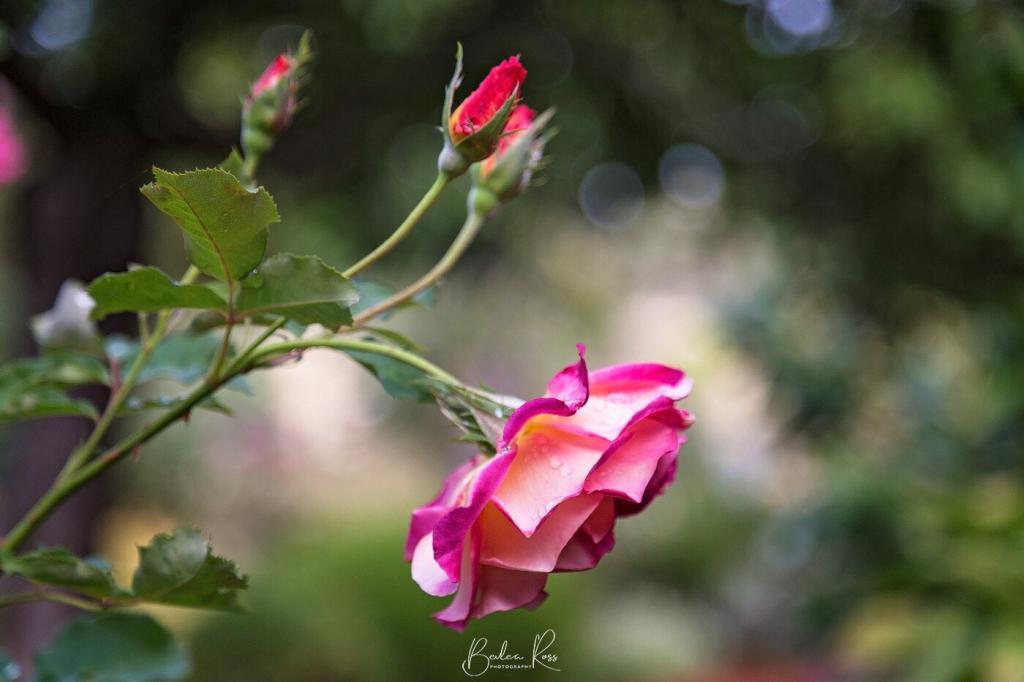
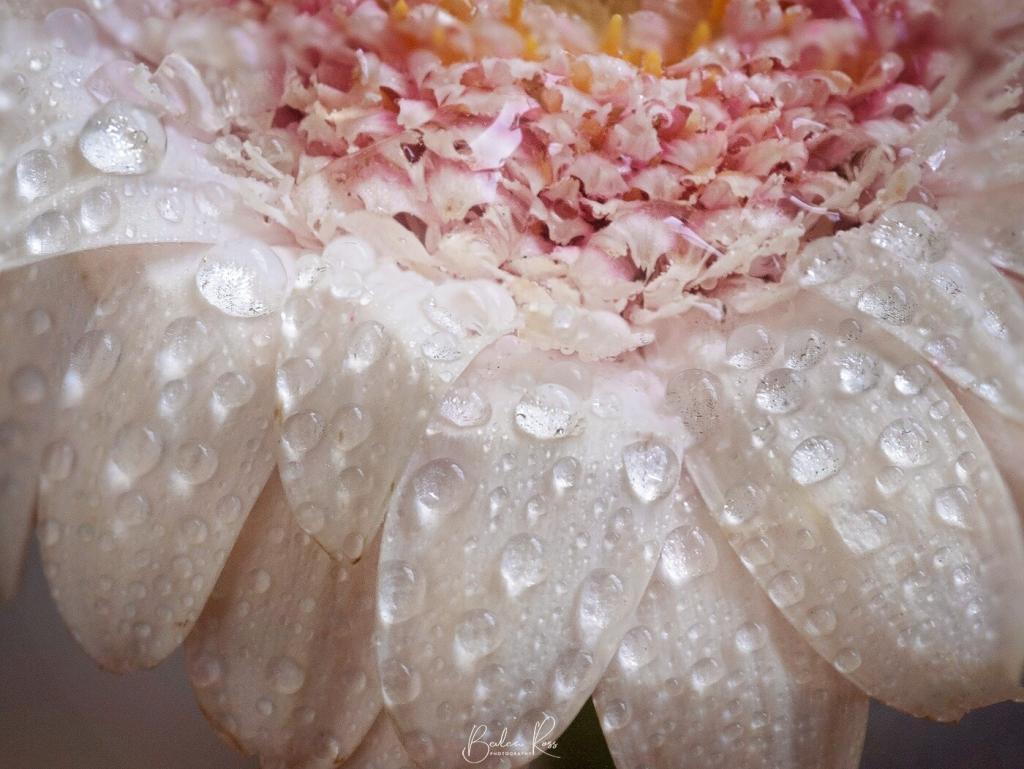
Fill the frame? Patterns, textures? Also, consider the plane of focus. For example, if you are photographing down into a flower with a deep centre, such as a lily or a rose, the stamens will focus while the side walls are out of focus.
Depth of Field
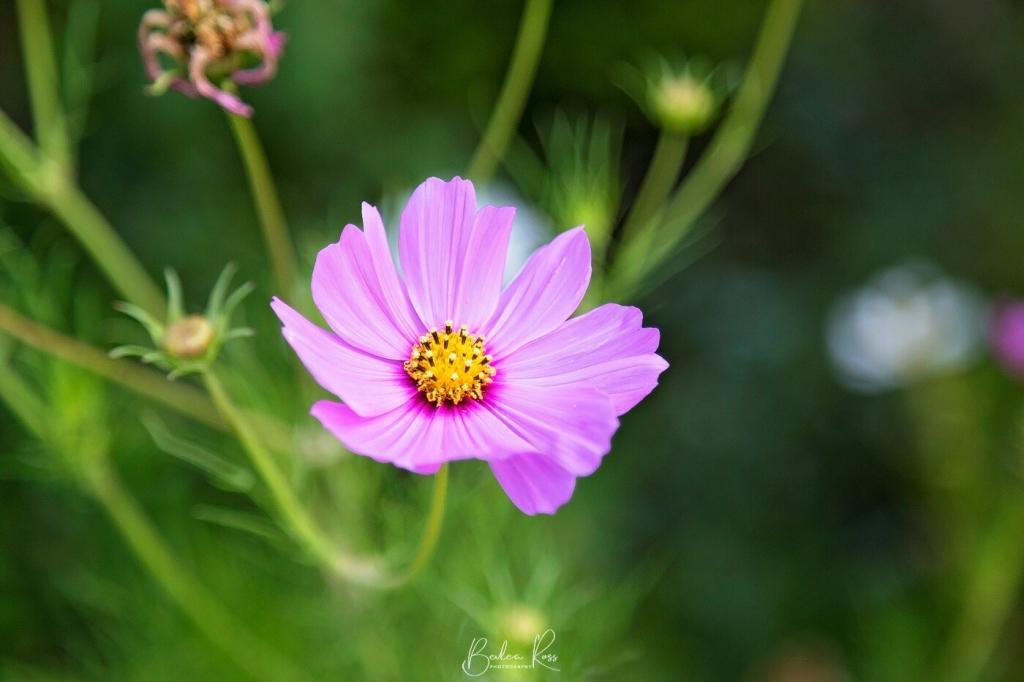
Do you want all the flowers in focus or just a part of it? If you use a macro, you will only get a narrow slice in focus regardless of your aperture; if you want more of the flowers in focus when shooting with a macro, consider focus stacking. With a zoom lens, more or all of the flowers will be in focus if using an F-stop or F7 or more. The silkiness of the background bokeh will depend on the lens utilised – and how far away from the flower the background is.
Inside or out?
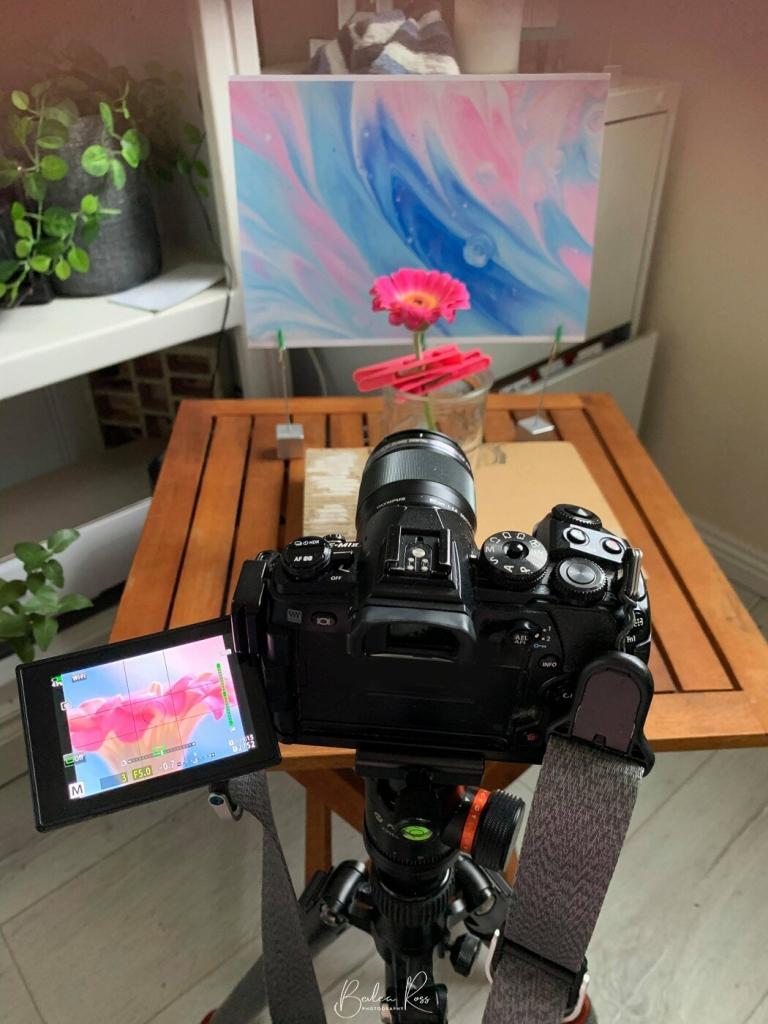
With spring being windy – and lockdown limiting movement options – this is my preferred go-to at the moment. For this post, I picked up a bunch of flowers from the supermarket, gathered my tools and set them up near a window. I used a macro and my walkaround lens for the shots, and focus stacked the macro shots. With the camera on a tripod, I wasn’t concerned about shutter speed – I set the ISO to 200, the F stop to between 5.0 and 7 depending on which lens was on the camera, and I just adjusted the shutter until the exposure was correct.
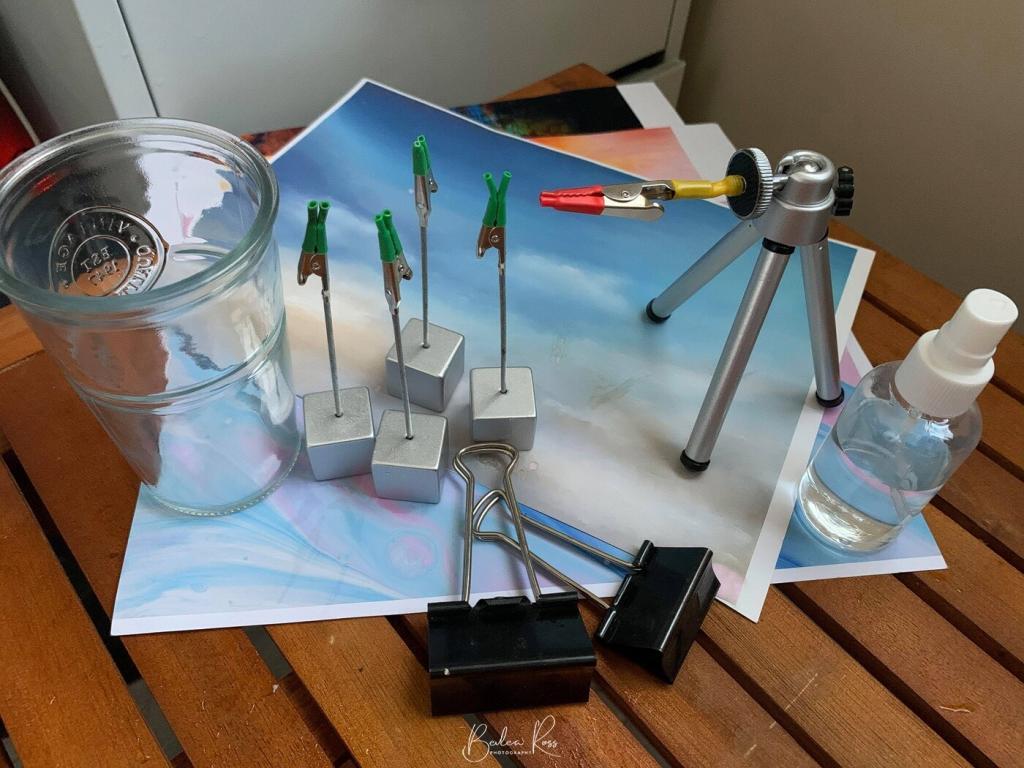
Handy Tools To Have for indoor shoots.
- Printed backgrounds – I made mine in photoshop and blurred them to give me a silky DOF, but you can also use wrapping paper, placemats etc. You can also place flowers behind your main subject as a background. To start you off with printed backgrounds, there are four free ones to download at the end of this post. The ones I used were printed on A4 180gsm matt photo paper – there is no need for a large sheet when photographing a single flower.
- Bulldog clips to hold your backgrounds
- Pegs and Memo holders to hold a single flower or backdrop. slide a piece cut from a drinking straw or heat tube over the teeth, so they don’t crush the flower stem
- a specimen holder – I made my own with a mini tripod, alligator clip, and heat shrink plastic tube (thanx for the tip Stewart Wood)
- a glass (no water) to hold a single flower
- Vase or water to hold your flowers and keep them from wilting while working
Setup and my Final Shots
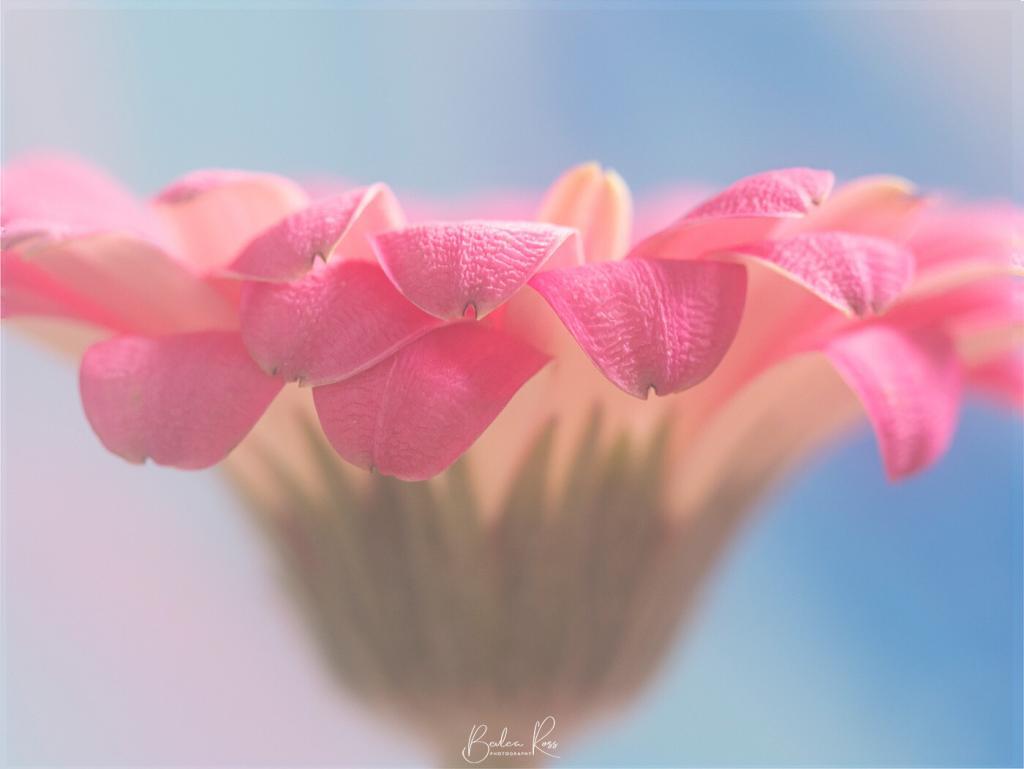
Each split screen below shows the setup – and the finished shot. There is no hard and fast rule I follow… most of the time, the backgrounds do stand up ok.. sometimes, I have to handhold. I haven’t glued them to more robust cardboard as the photo paper is double-sided, so I printed the background on each side… it’s not a huge problem to get them to stand up. I think a small easel might do the trick for the odd one that won’t play nice 😉
Setup One


This was the most straightforward setup of all. First, place your bloom in a glass to support it upright (no water needed). Next, choose your background, put it behind the image, and shoot. Support your printed background with a couple of large bulldog clips as stands; if using wrapping paper, try blue tac to attach it to the wall behind your flower. Then zoom in on the part of the flower you want to shoot… or use the macro.
Setup Two


For this shot, I held the Gerbera upright using two clothes pegs. My greenery behind was held with memo and bulldog clips, and my little specimen stand and another bulldog clip held the backdrop in place.
Setup Three


Bit of a lazy effort with setup Three. I used the Gerbera again – this time in the glass with the pegs holding it straight up in the middle of the glass. This background didn’t want to stand up, so I handheld it and took the shot.
Setup Four
I chose another Gerbera with setup number four and again situated it in the glass, held in place with pegs. However, I had to raise the glass a bit for this one with a book to get the part of the background I wanted in the right place. So again, I lowered the tripod, and shot with the macro, shot level with and side onto the flower.
I hope you enjoyed the Techniques for Flower Photography – at the bottom of the post are your free backgrounds.


Click the button below to download your four free backgrounds. It’s a zip file, so you will need WinRar or Winzip to unzip it. Both programs are free to download
