How To Do Crystal Ball Photography

Crystal Ball photography has become extremely popular, but how to do crystal ball photography or where to start?. Due to the shape of the ball, it’s refractive – meaning anything viewed through it is reversed, and it gives you a fish eye effect without a fish eye lens.
Crystal balls come in several sizes from 40mm to 110mm and are readily and cheaply available on eBay (though I have seen a 200mm!) While they are referred to as crystal balls, most are actually glass. The ball in these images is a glass 80mm. While the bigger sizes are easier to photograph and fill more of the scene, their weight is considerable. I have a 40mm on the way… it will be much lighter, but the trade-off is what I can shoot. I’ve also dropped my 100mm or had it roll off a surface a couple of times, so it now has a couple of tiny dings in it, so I also have a 110mm on the way too.

Photographing the Ball
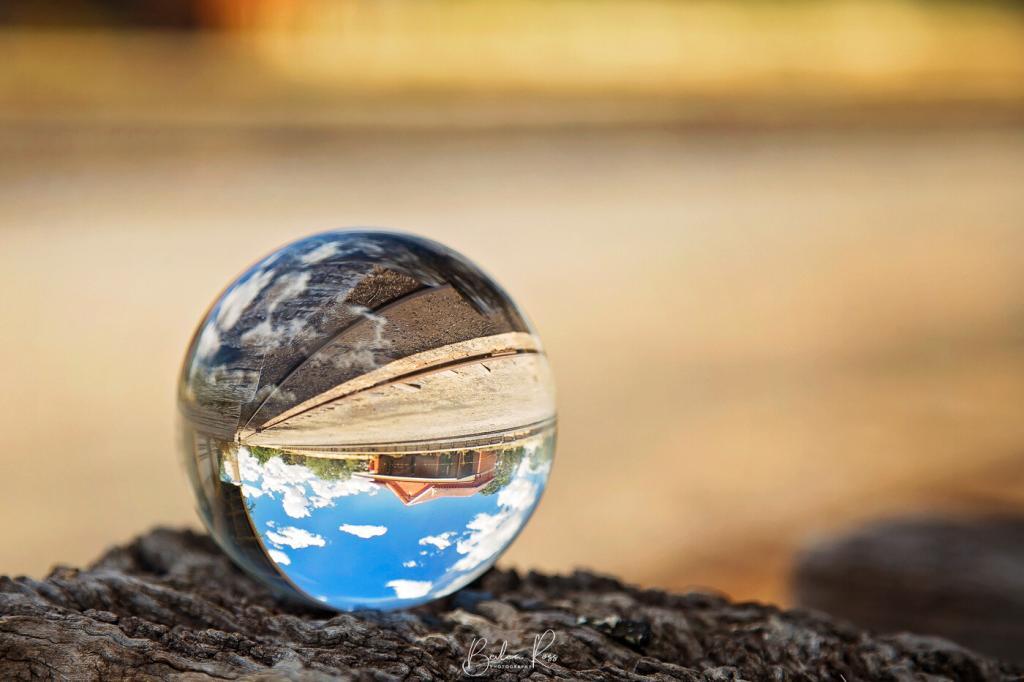
To have your crystal ball stand out from the background, you need a wide aperture – F4 or lower. Stand back from it and zoom in to get the soft, blurred out background. The image above was shot at F4, 105mm, and about 4 feet away. Duck down, so you are looking straight onto it or lower. Don’t shoot from above, as you will only get what it’s sitting on. Instead, focus on the main point of interest in the ball and shoot your image. Out of direct sunlight is best to avoid reflection (see the top right where the sun hit it on the ball above).
Positioning the Ball
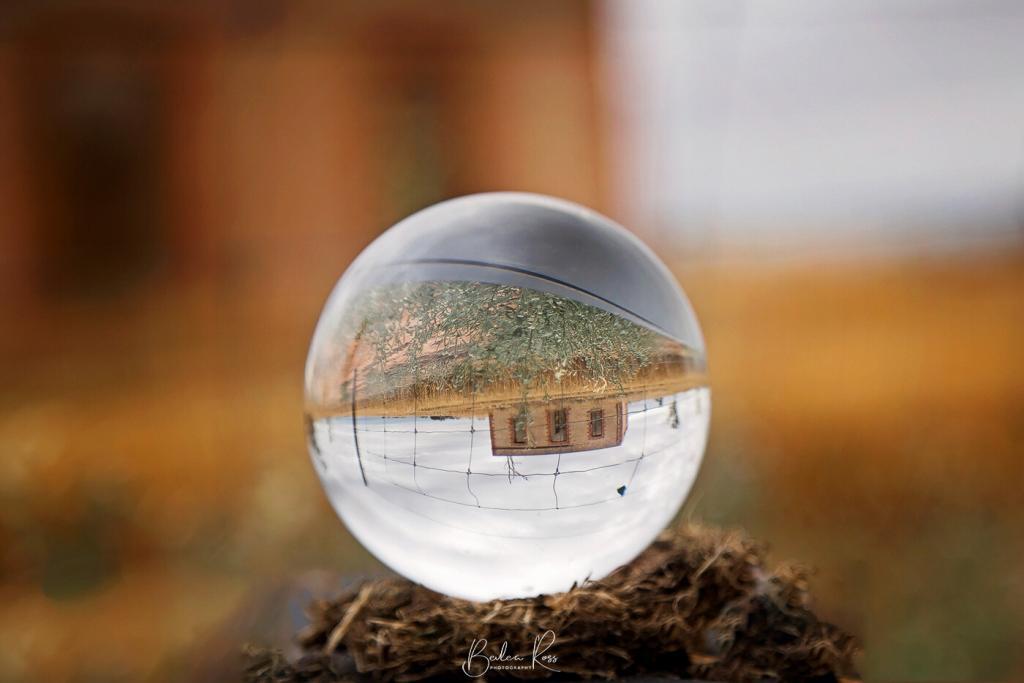
To place the ball, you can either put it on a pole, a flat surface, in a shot glass, or water. (I’m going to try a golf tee next!). Location wise you need something interesting behind it. Place the ball and move your feet until you have a pleasing composition. It all depends on the angle. Keep a lint-free cloth handy to clean it between shots, or wear cotton gloves to keep the fingerprints off. Then shoot and have fun.
Rightside Up or Upside Down?
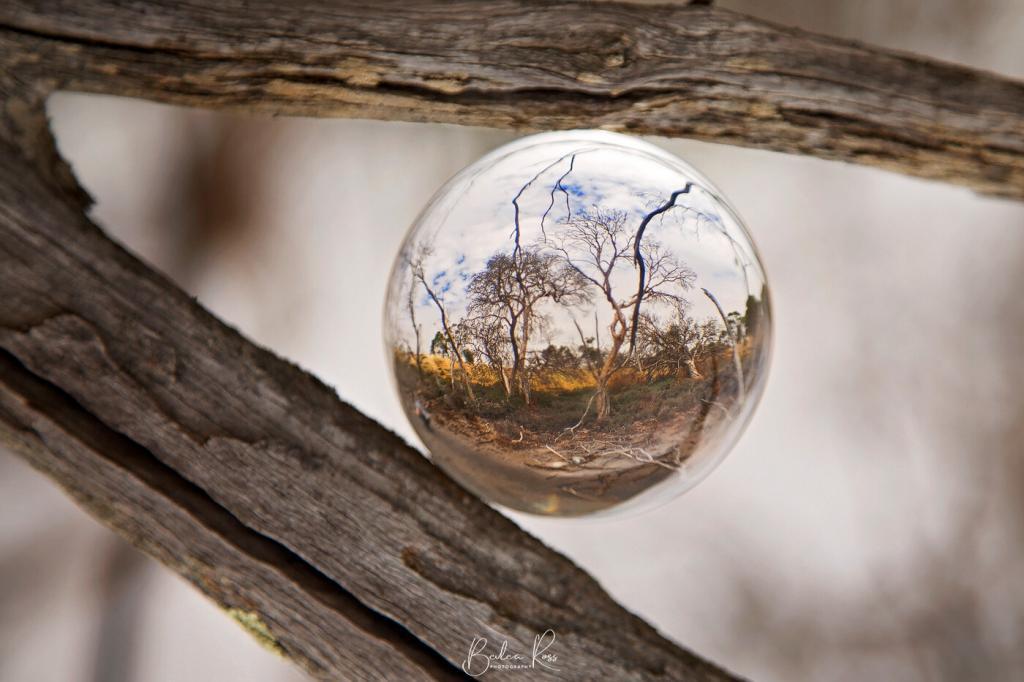
Because of the refractive aspect, your images are always upside down when shot… but you can flip them right side up using your editing program. For example, to get the shot of the wetlands below, we wedged the ball into the fork of a tree…. and then I flipped the image in Photoshop so it was right side up.
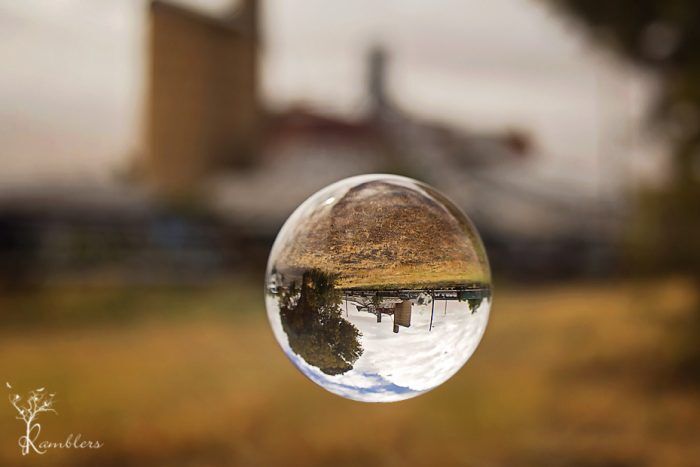
Floating?
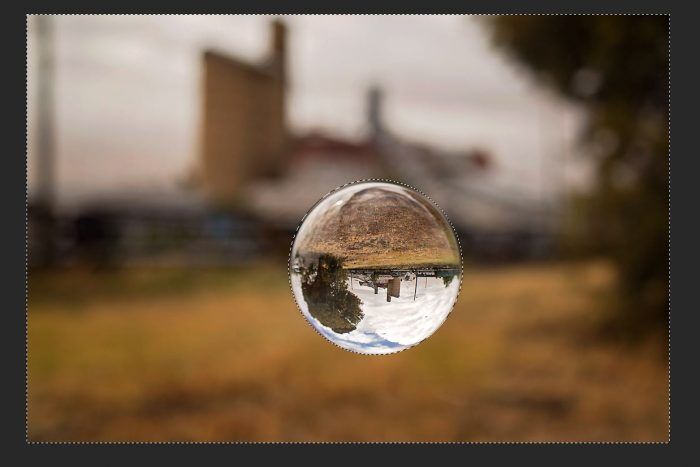
I wanted to get a shot that looked like the ball was floating/hovering in the air. So I placed it on a post, then in Photoshop, I removed the post. To do this, you can either go around the pole with the polygon lasso or use the elliptical marquee tool. It’s a bit fiddly using the elliptical tool, but I found it worked better as it was round like the ball. The polygon tool, however, is great for objects with irregular edges.

The first step is to drag the elliptical tool over your ball to fit. This may take a couple of goes till you get the size right. The marching ants around the ball mean that it only affects the ball whatever you do.

However, we need to invert the selection so the area outside the ball is selected and the ball is protected. The keyboard shortcut on a PC is ‘Ctrl + Shift + I’ or on a Mac its Cmd + Shift + I

Now you have the marching ants around the edge of the image and the ball. The ‘active’ area is now everything except the ball, so using your clone tool, you can now safely clone out the post.
Now all you need to do is ‘Ctrl + D’ on a PC or Cmd + D on a Mac to deselect the selection and close the marching ants and make final adjustments or crop to your liking.
A word of warning
These balls can be dangerous in the sun! They concentrate the sun’s rays into a strong, direct beam of heat and light… I had seen a tripod begin smoking after just a few minutes when a ball was placed on one… and when I drove around all day with my 80mm crystal ball sitting in the console between the front seats, it melted the plastic underneath!. So always keep your ball in a cloth bag when not in use, never leave it in the sun unattended, and if you are shooting it in dry grass… work quickly!

